|
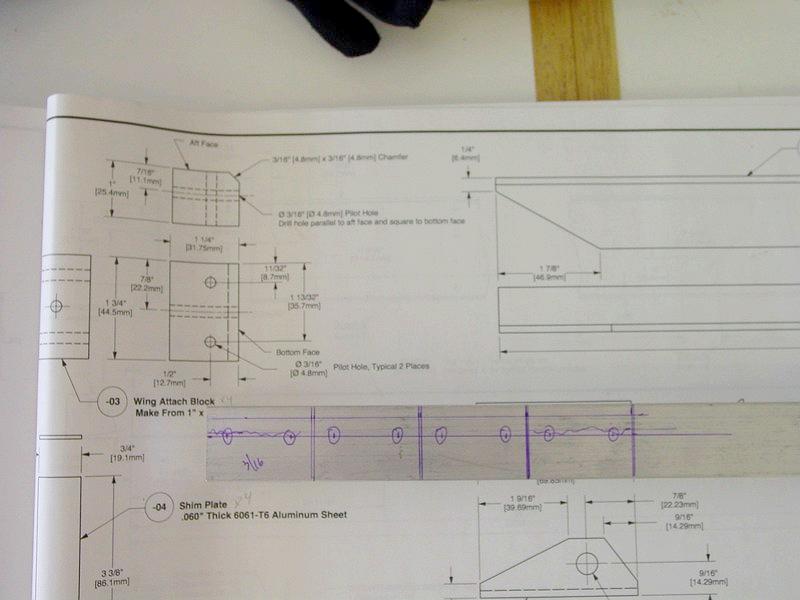
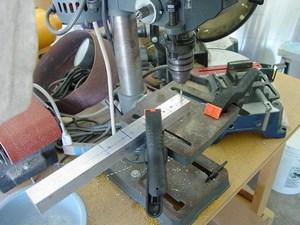
The first step in mating the spars is to make the wing attach blocks. These are made from a serious hunk of aluminum bar (1" x 1.25"). Here, all four blocks are drawn out prior to cutting and drilling.
|
|
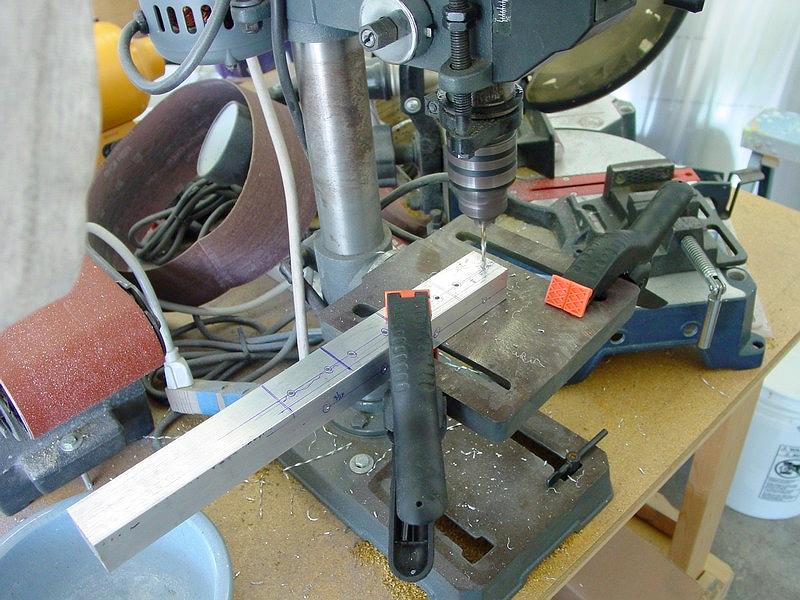
I chose to drill all the holes prior to cuting each block appart. This would simplifly the handling required for each block.
|

|
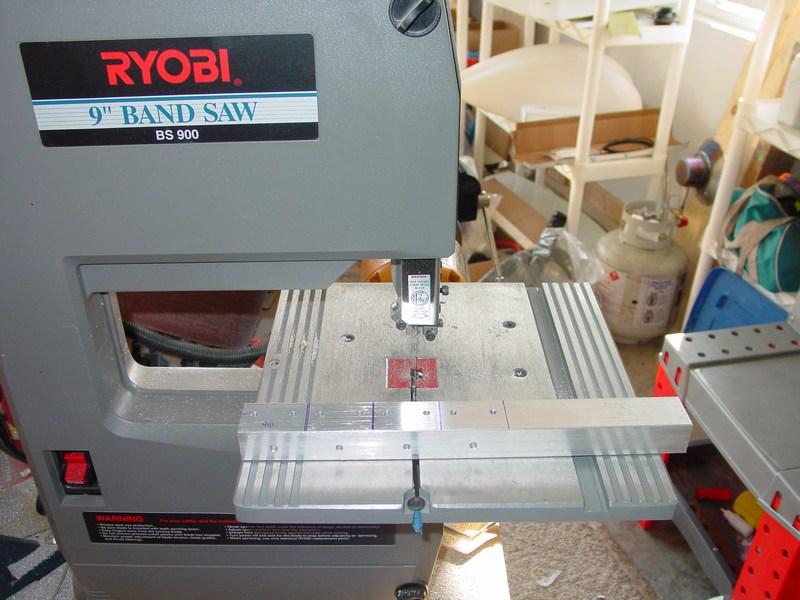
Next, the bar is taken to the band saw. Go slow and use lots of wax on the blade.
|

|
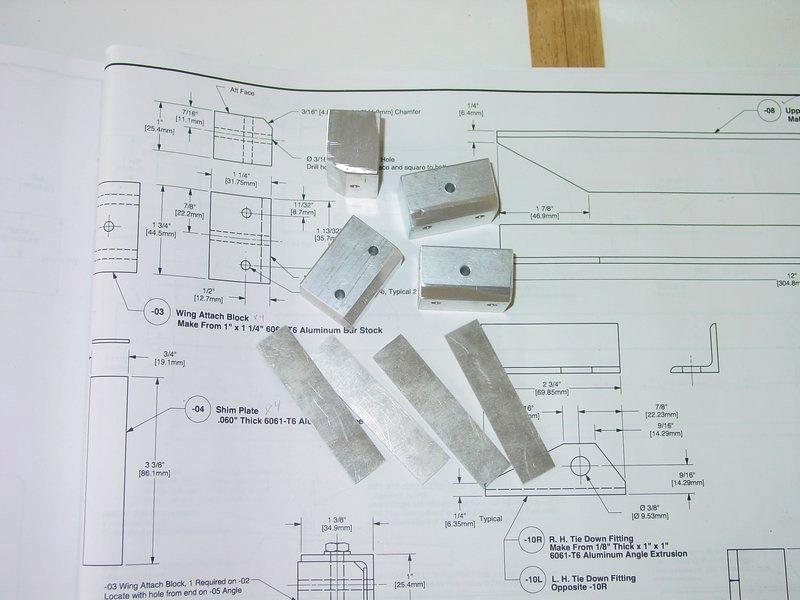
Completed attach blocks and spacers. You can see 4 spacers here, but reading the plans carefully will show that you only need two. This is one place that the plans could be a bit more descriptive.
|
|
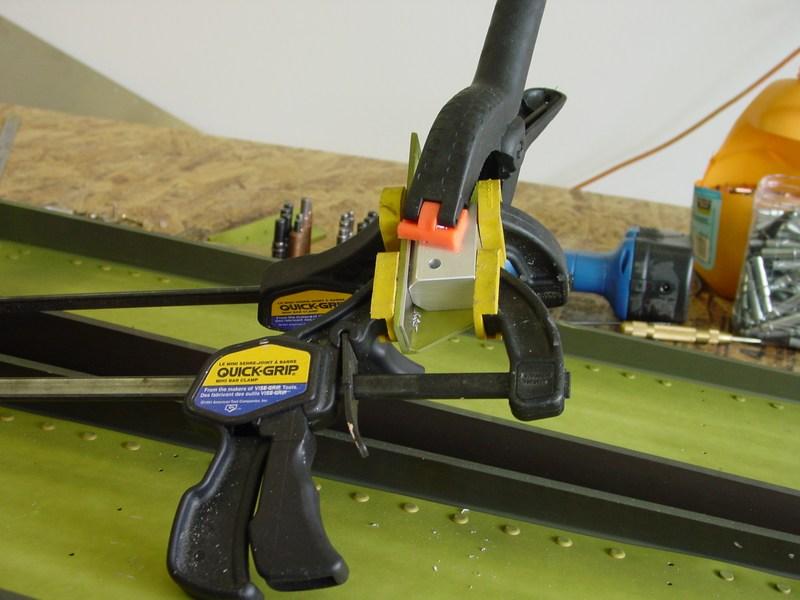
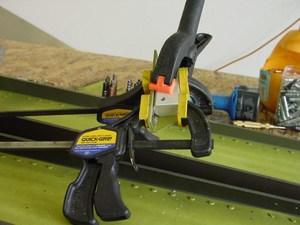
The attach blocks are clamped to the angles in preparation for drilling.
|
|
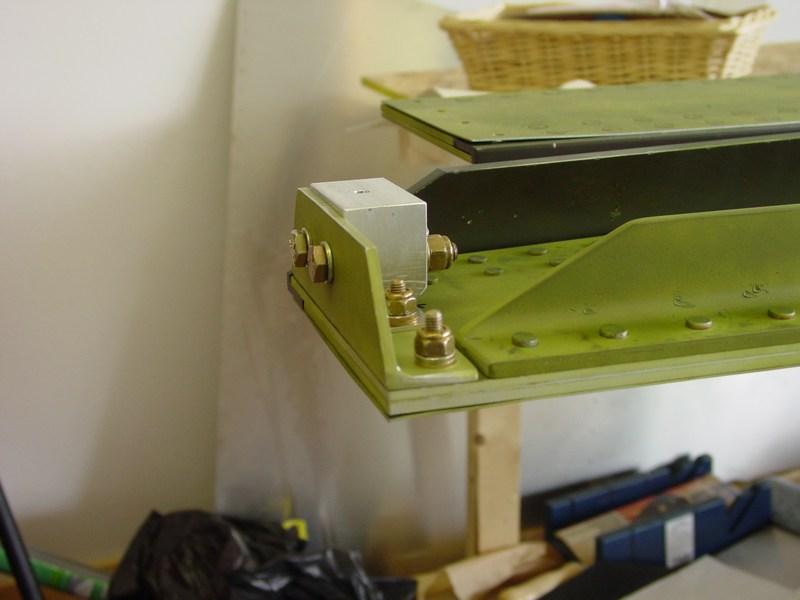
Lastly, the blocks are bolted to the angles and then to the spars.
|

|
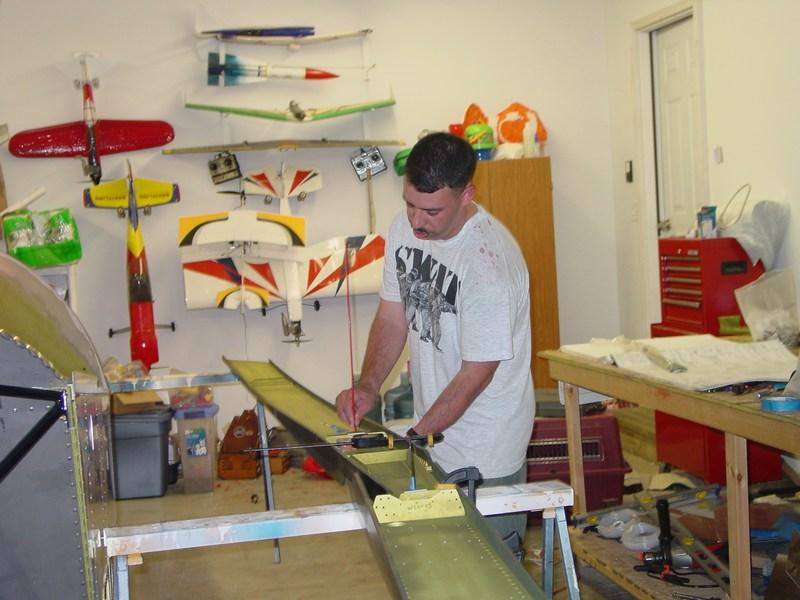
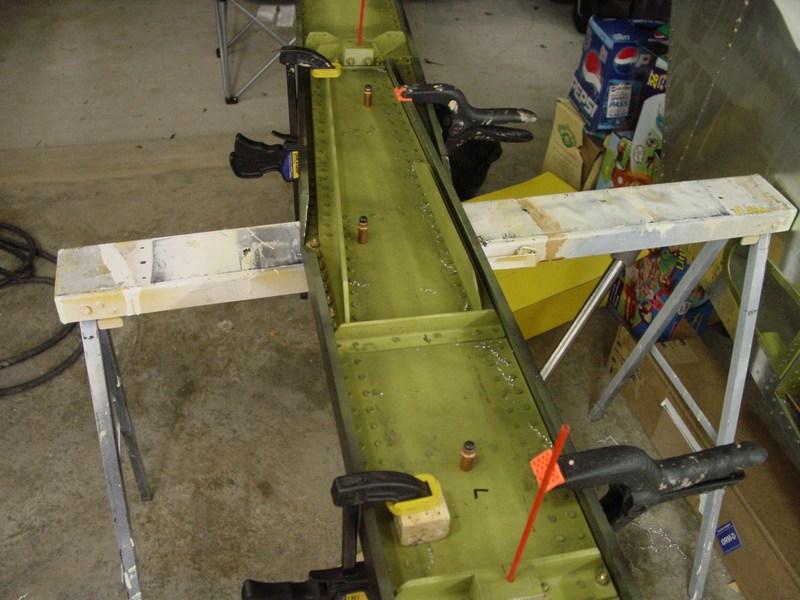
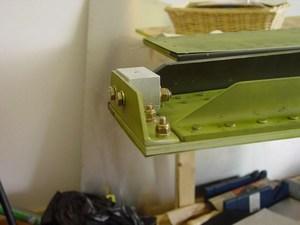
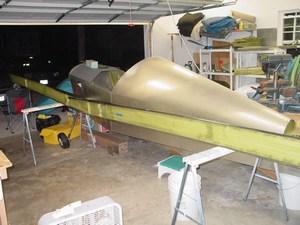
With the attach blocks in place, I lined the spars up and supported them on the saw horses. I had originally planned to drill the holes on my drill press, but after considering how much rearranging of my shop would be required, I decided to go with the saw horses. Beside, I've drilled nearly all of the holes in the spar by hand, why stop now!
|

|
After aligning the spars based on the holes already in the attach blocks, I realized that I needed some 3/16" rods, bolts, dowels, or something. Looking around my shop, the only thing I had on hand was some R/C control pushrods. They were perfect: stiff, slick, and sized just right! I cut sections for both blocks and pinned and clamped the spars together.
|
|
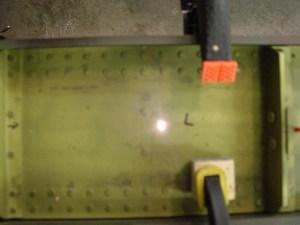
Before committing to drilling the bolt holes, I wanted to ensure the alignment was accurate. There was a chance the attach block holes were in the wrong spot. I shinned a light from the bottom side of the spar to check the three pre-punched rigging holes (these are also the pilots for the bolts I was getting ready to drill). The holes matched up perfectly. Light passed through like there was only one continuous hole! I was impressed!
|
|
The three pilot holes were drilled out for 1/8" long-reach clecoes.
|

|
Then, on by one the holes were drilled progressively up to 1/4" and bolts temporarily installed.
|
|
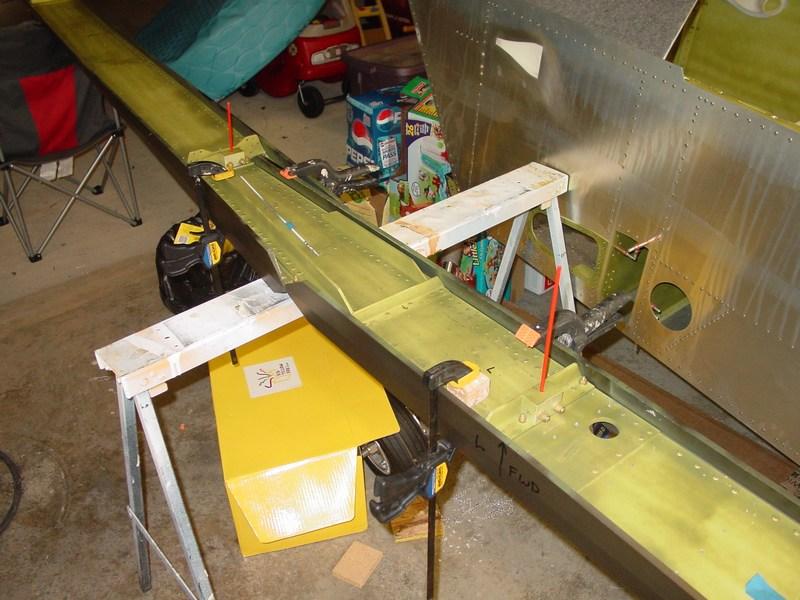
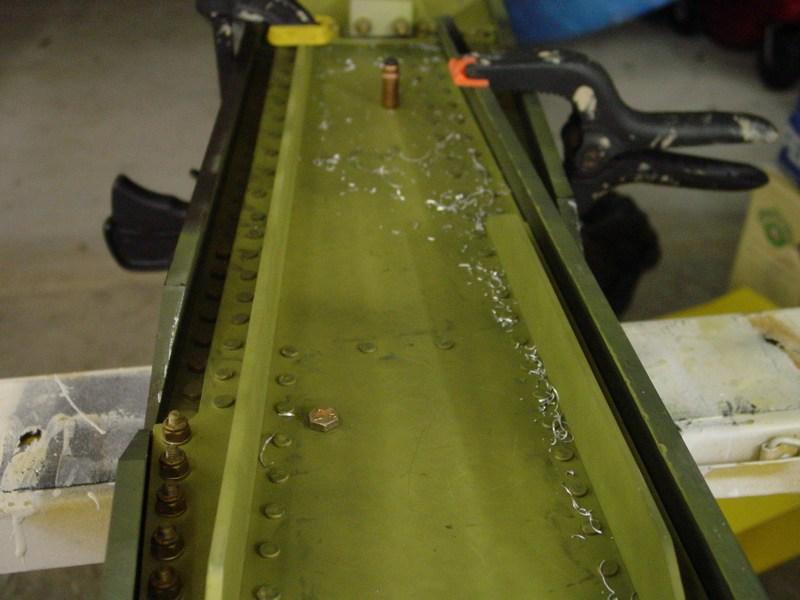
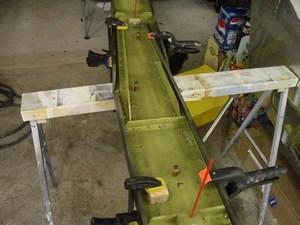
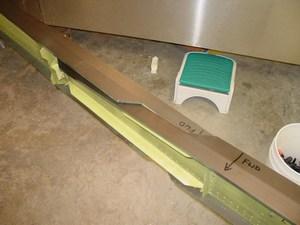
Close up of the center section showing the left and right spar overlap.
|
|
Finally, the spars are mated!
|
|
Here is a good shot of the curve in the spars. Believe it or not, it really does take very little effort to straighten this spar back out. Don't worry about it!
|