|
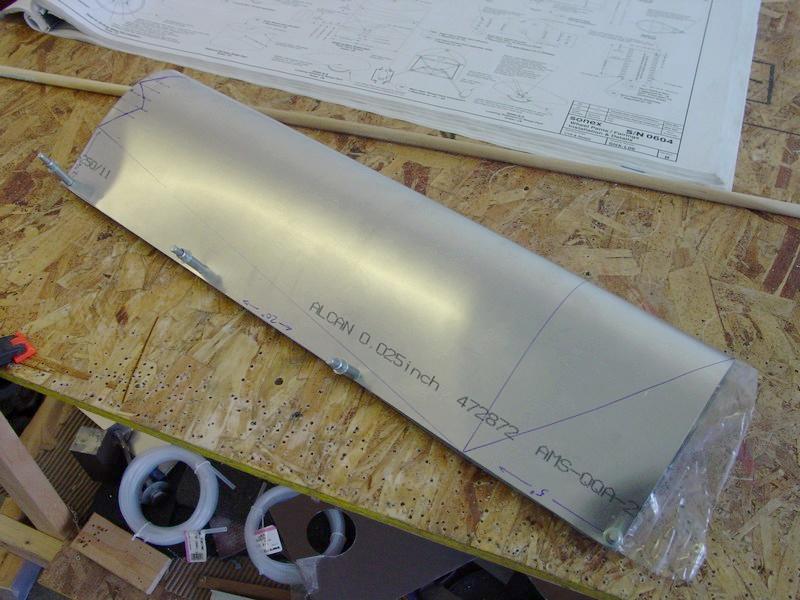
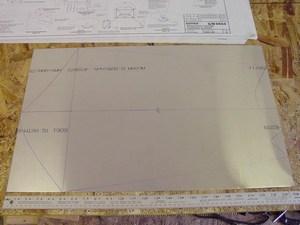
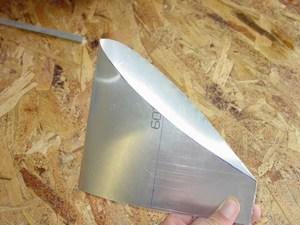
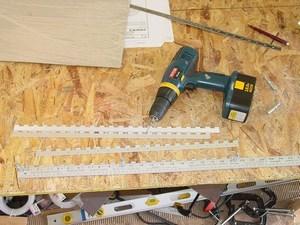
The fairing is first drawn out on a 25" x 15.5" sheet of 0.025" aluminum. This is not the stock size. I like the look of a tapered gear leg fairing, instead of the standard rectangular ones in the plans. Mine will be 7 1/2" wide at the top and 5" at the bottom.
|
|
However, making a custom size fairing required me to make a new cut template. This test piece was created from some scrap aluminum and refined using trial and error. I had a good idea what the final template should look like, so I used that as a best guess starting point.
|
|
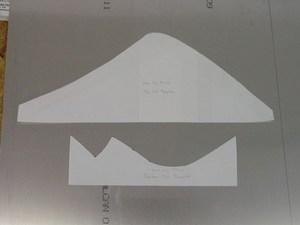
The aluminum was then traced onto paper to make the final template.
|

|
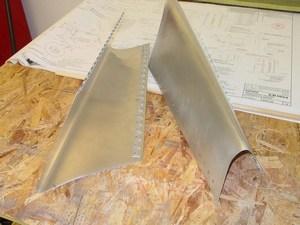
It's amazing how that bell-shaped curve turns into a flat plane on the fairing.
|
|
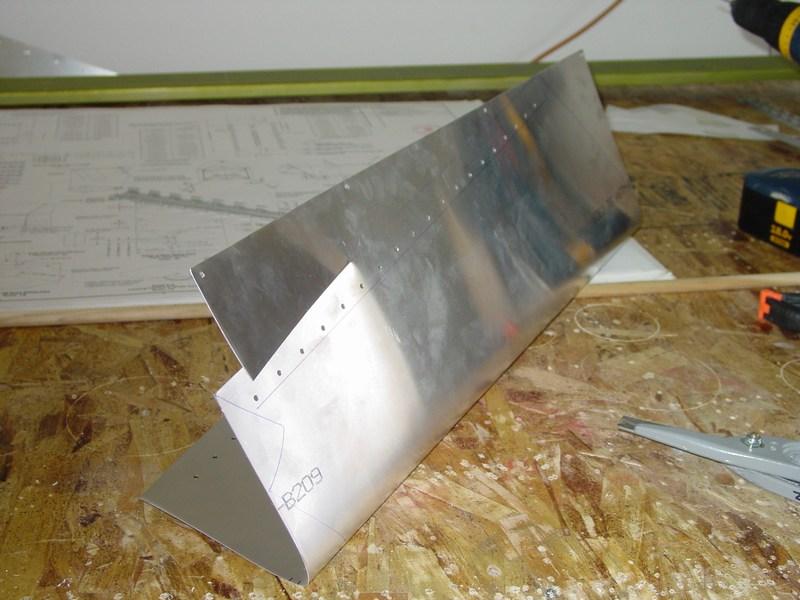
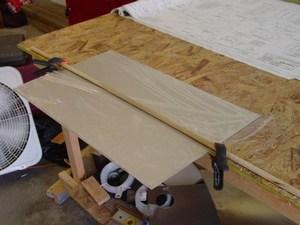
To get a consistent and even leading edge radius bend, I decided to bend the skin still in a rectangular section. I would trim the edges for the taper once the bend was complete. This method worked very well.
|
|
I used a combination of bending techniques. First a dowel was clamped down on the bench. This allowed me to make the initial bend nice and straight. Then I folded the two edges together and drilled and clecoed them together. I could then use my hands to squeeze the radius until it was where I wanted it.
|
|
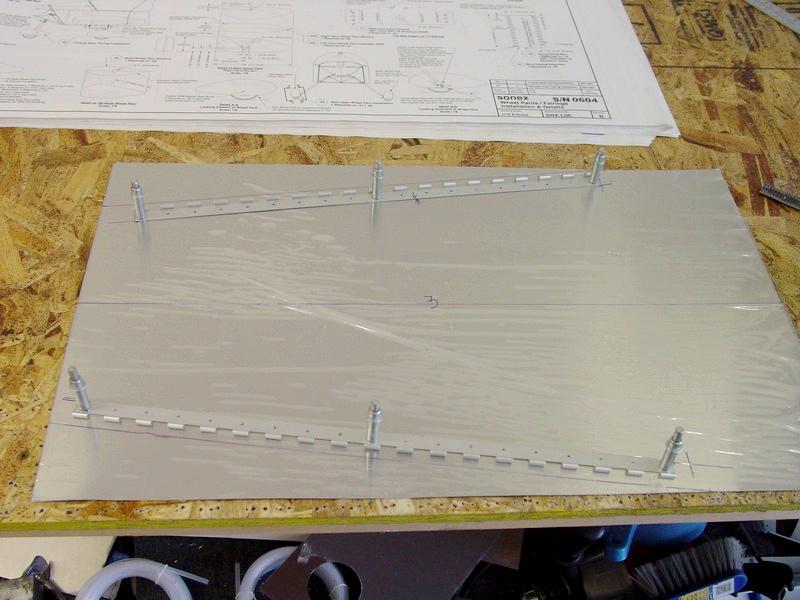
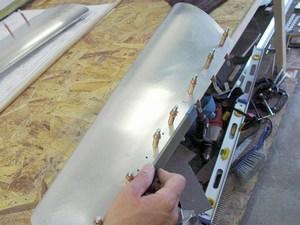
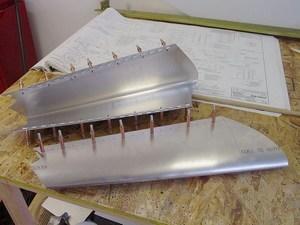
The fairings are held together with piano hinge. I pre-drilled the hinges prior to fitting them to the skins.
|

|
Hinges fitted to the skin. (This photo is actually of the second skin. I drilled prior to bending this one, but it really doesn't matter).
|

|
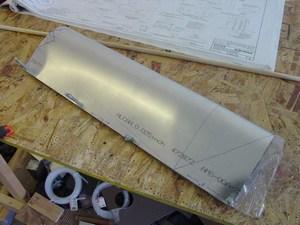
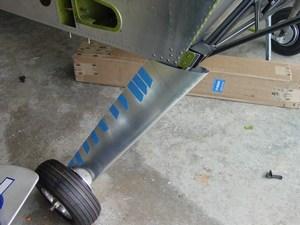
The fairing is then trimmed to its final shape.
|
|
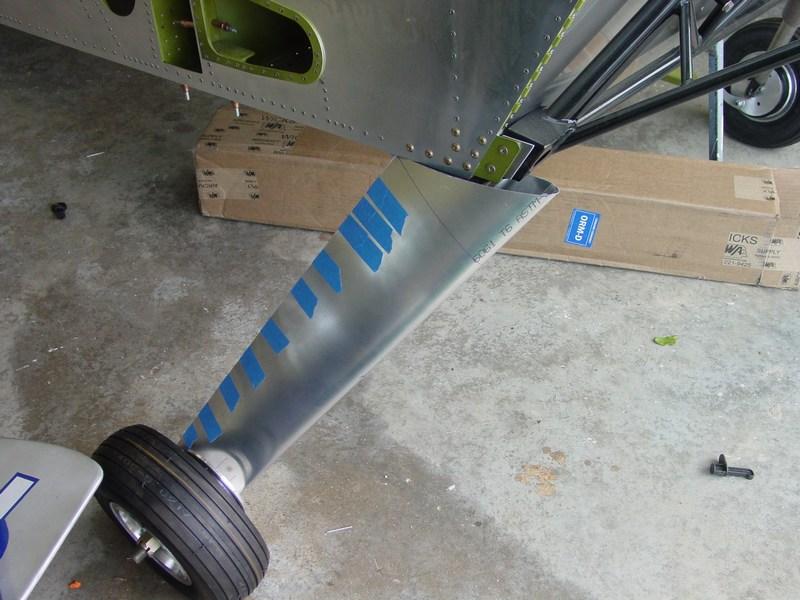
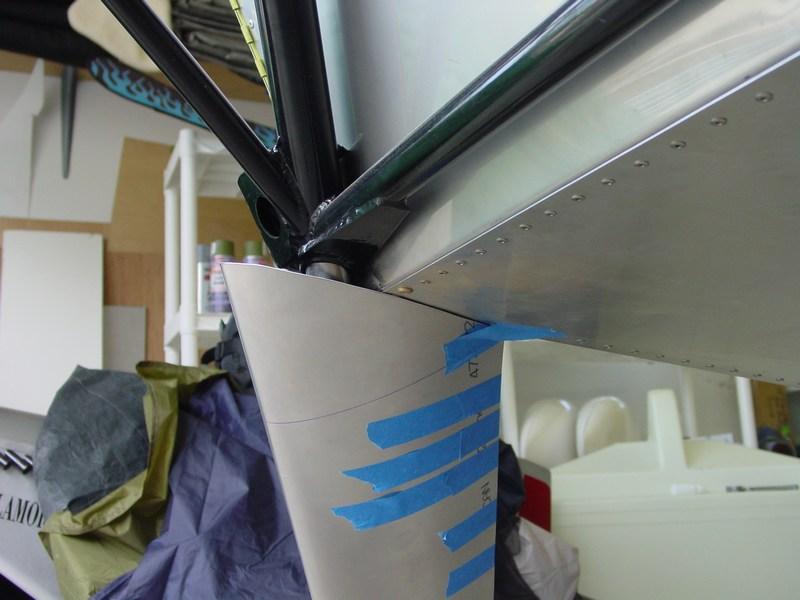
I test fit the fairing, but my templates and dimensions were right on the money. No significant trimming was required.
|
|
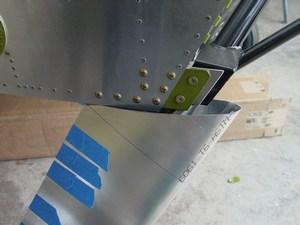
Close up of the top from the outside.
|

|
The top from the inside.
|
|
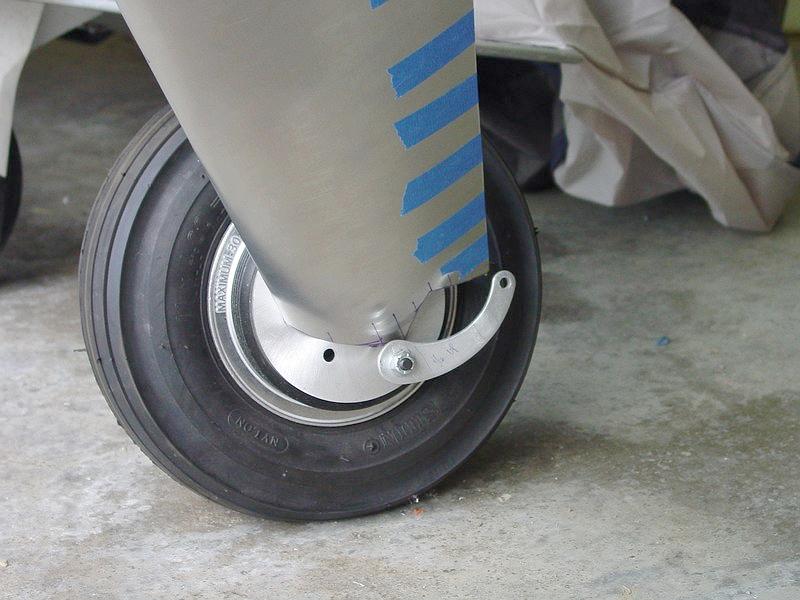
Close up of the bottom.
|
|
Being happy with the fit, I clamped everything together and used the vixen file to even out the edges. This really gave a finished look to the fairings.
|
|
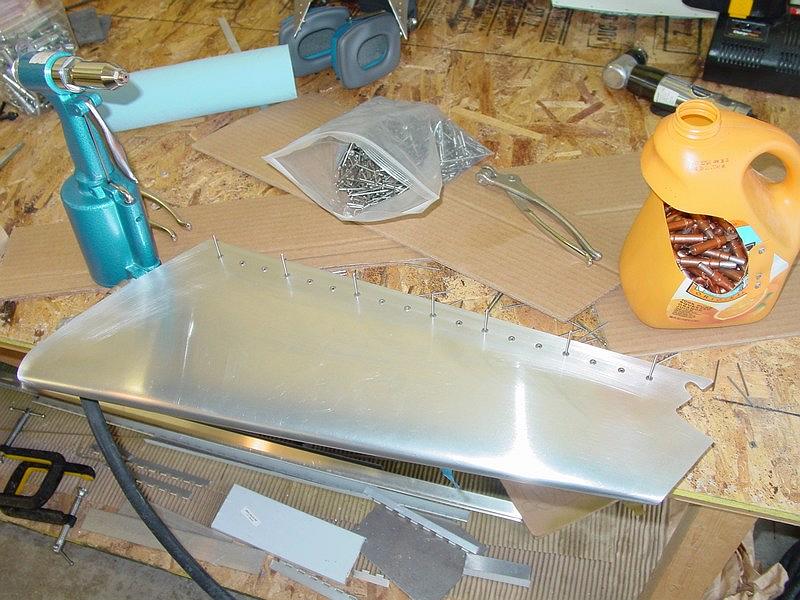
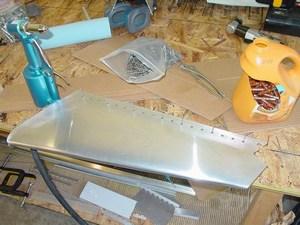
Ready to rivet.
|
|
Riveting the piano hinges to each half of the skin.
|
|
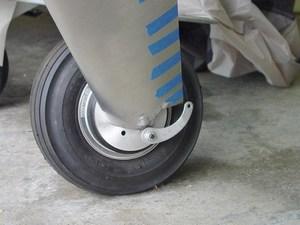
Completed fairings! Not a bad weekend project....
|