|
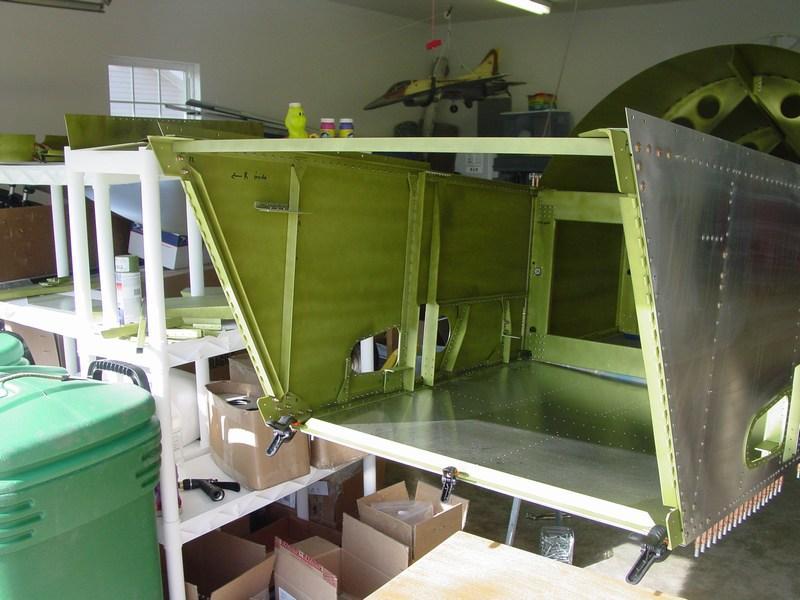
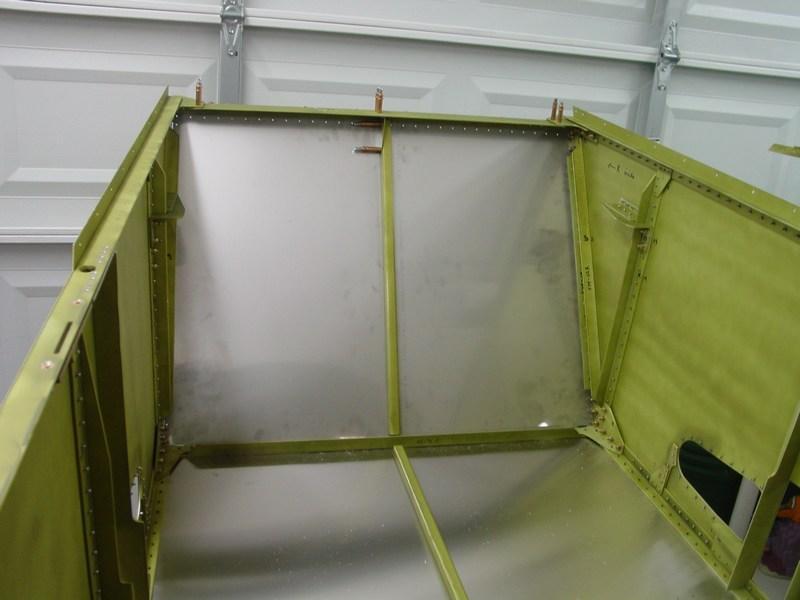
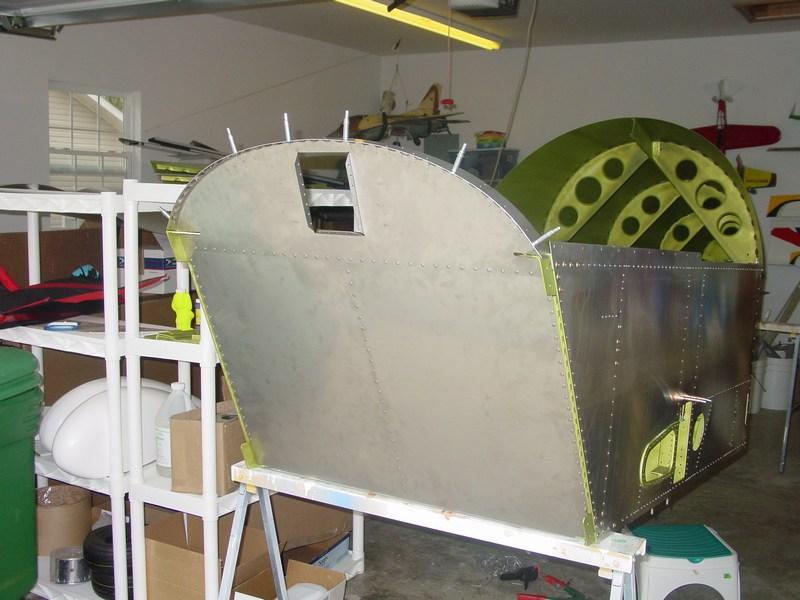
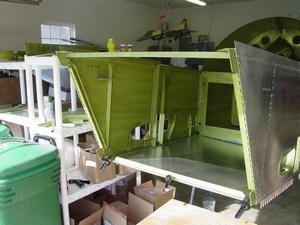
Fuselage with lower and upper firewall cross ties clamped in place.
|

|
Drilling the upper cross tie.
|

|
Drilling the lower cross tie. The angle drill and 12" drill bit were very helpful getting these holes drilled. There is not much room to get a regular drill in here.
|
|
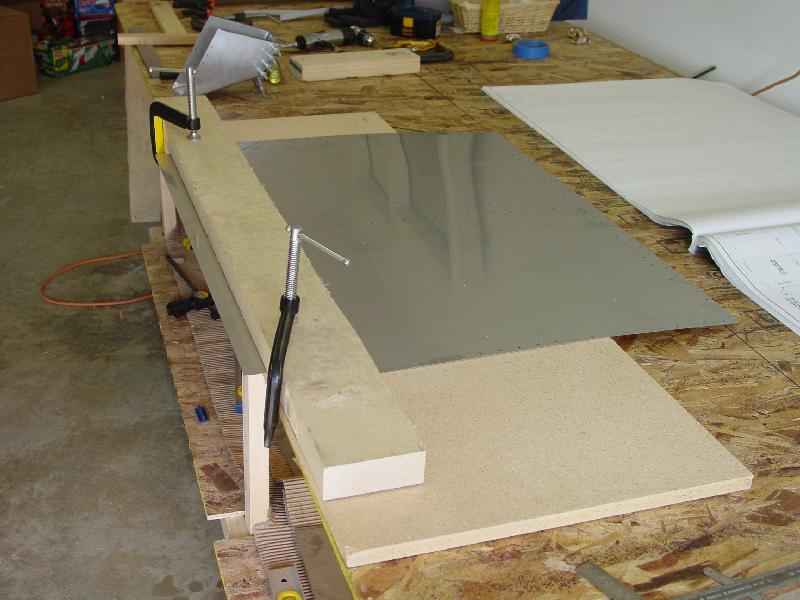
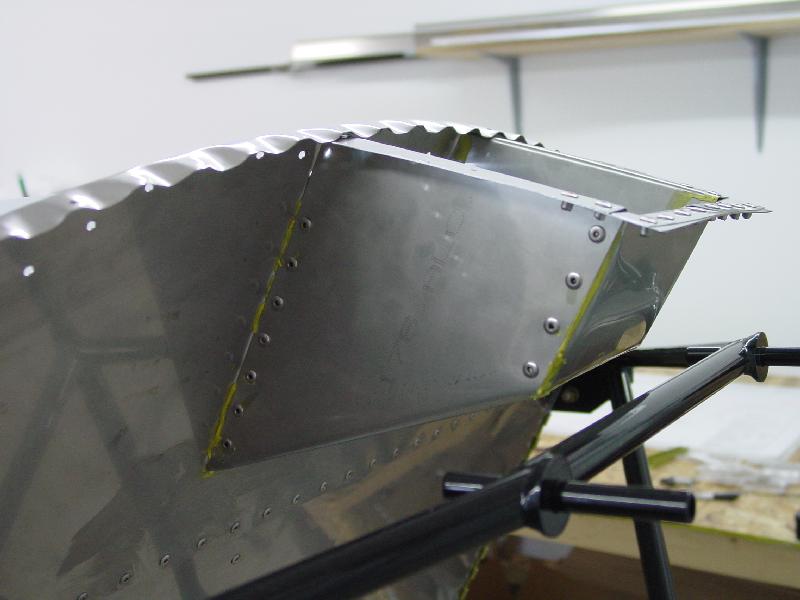
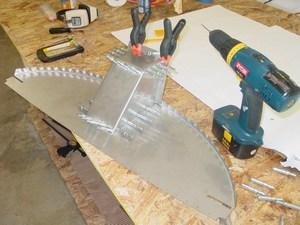
The lower firewall must have flanges bent on the upper and lower ends to mate it with the fuselage. Unfortunately, the firewall was too wide to fit on my 18" bending brake.
|

|
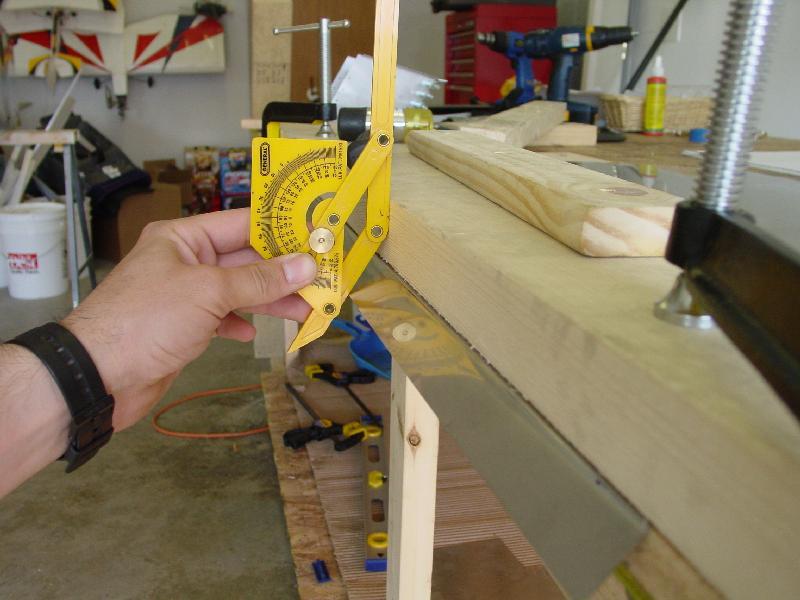
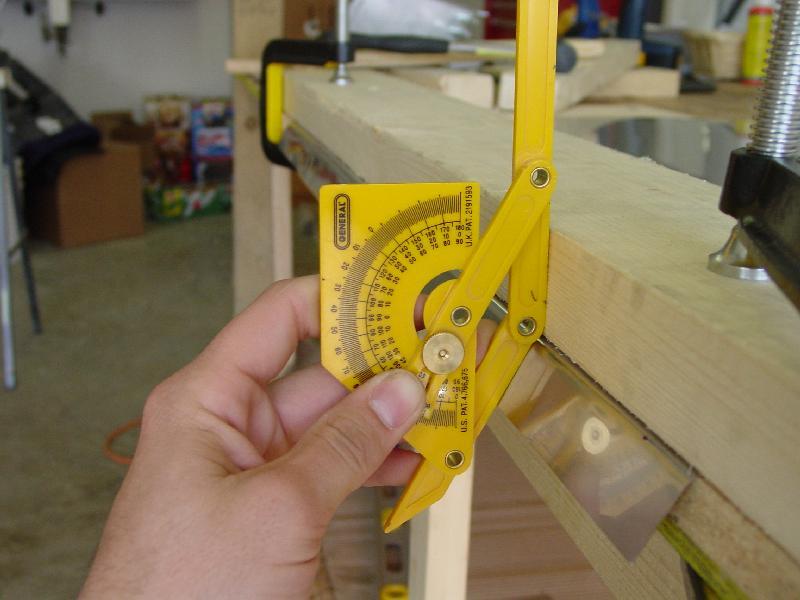
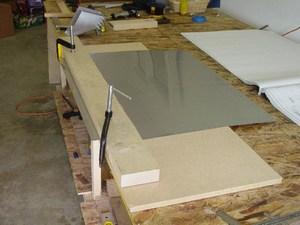
I bent the flanges by clamping the firewall between two large pieces of wood and bending the flange over using my 4 lb deadblow hammer and some scrap wood. This proved to be very easy. I would bend a little, then ceck the angle against my protractor.
|
|
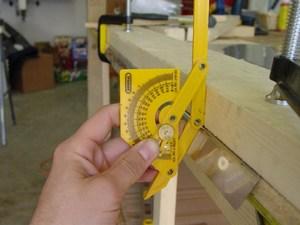
The flange angle matches pretty well.
|
|
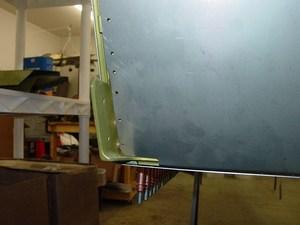
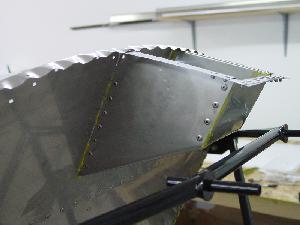
I had to cut the bottom edges back a bit to clear the motor mounts. It may look excessive in the photo, but believe me, it absolutely would not go on without the clearance cuts!
|

|
The firewall was then drilled around the perimeter.
|

|
Then clecoed in place.
|

|
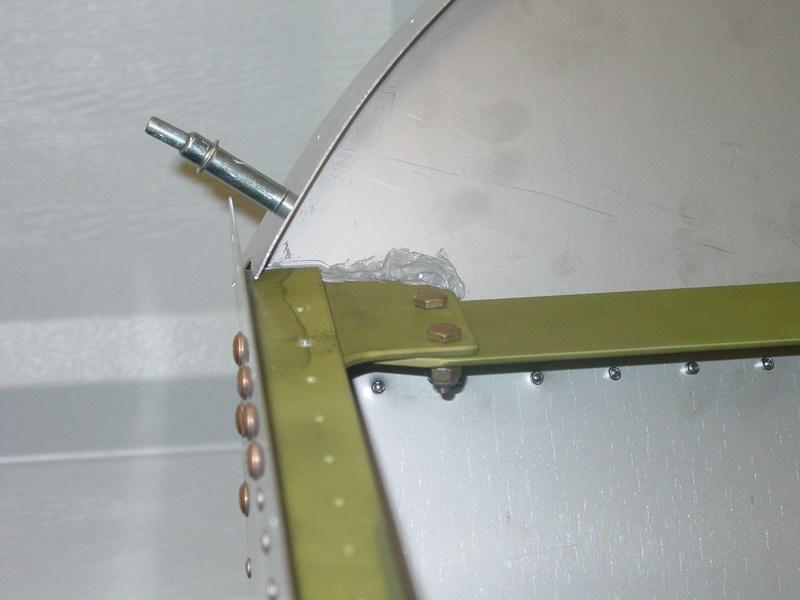
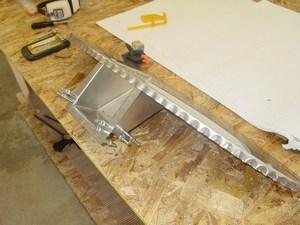
Here you can see the firewall stiffener square tube attached to the back side of the lower firewall.
|

|
Firewall stiffener tube gusset attached to upper cross tie.
|

|
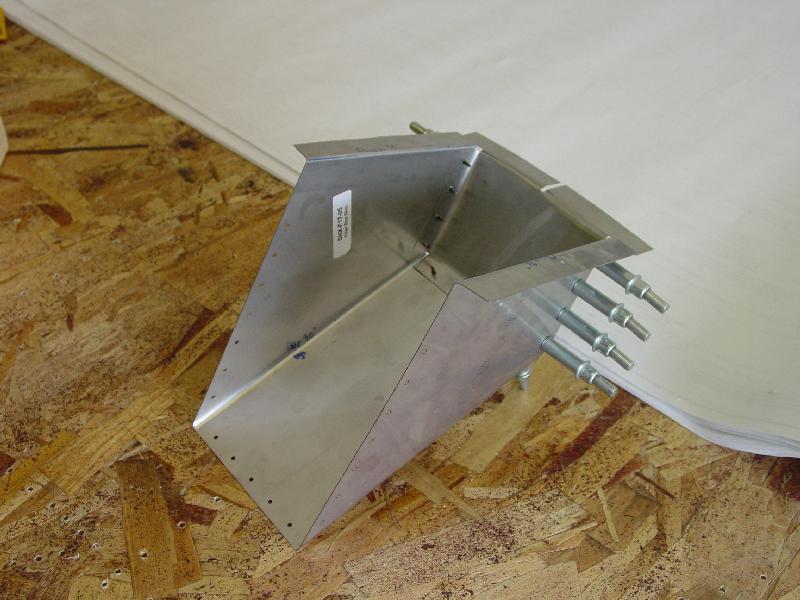
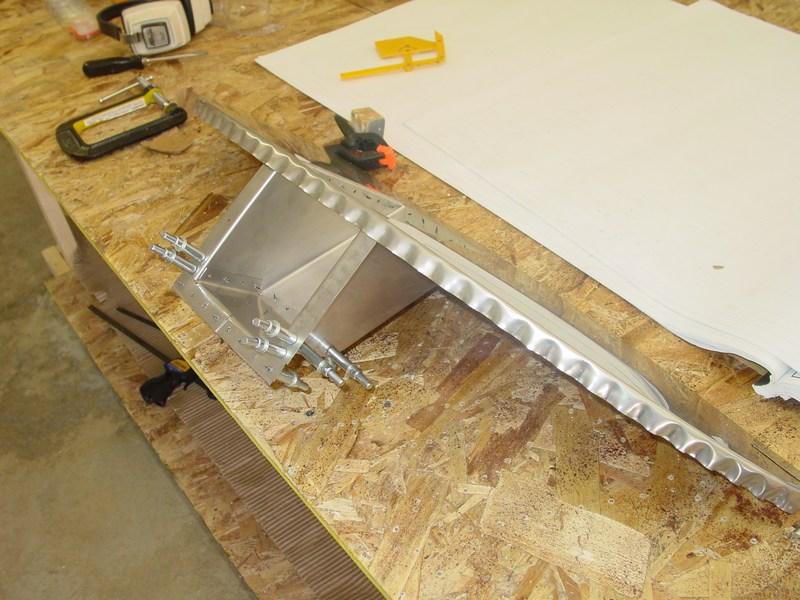
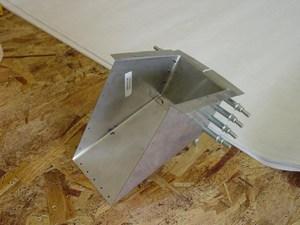
Drilling and fitting the stainless steel filler box.
|
|
This was a little tricky to bend accurately, but seemed to work out all right after messing with it a bit.
|
|
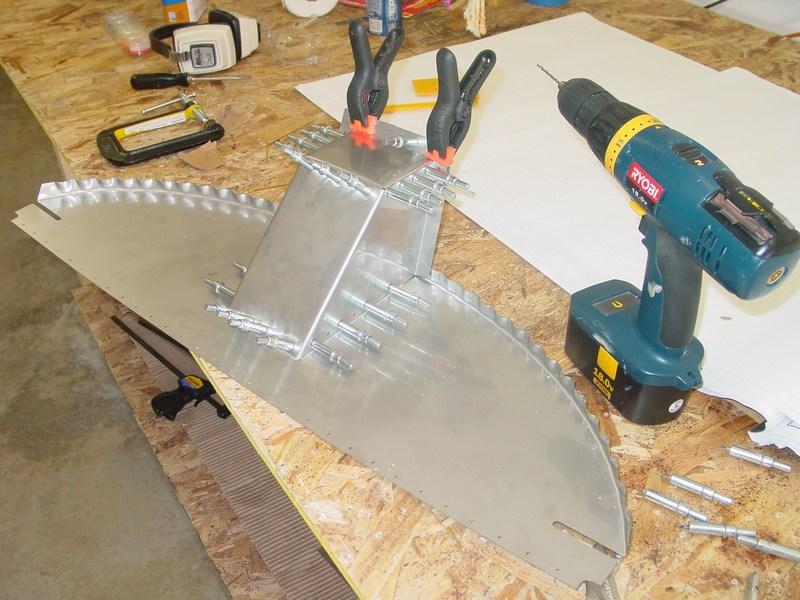
The filler box was then fitted to the upper firewall.
|
|
Another picture of the filler box fitted to the upper firewall.
|
|
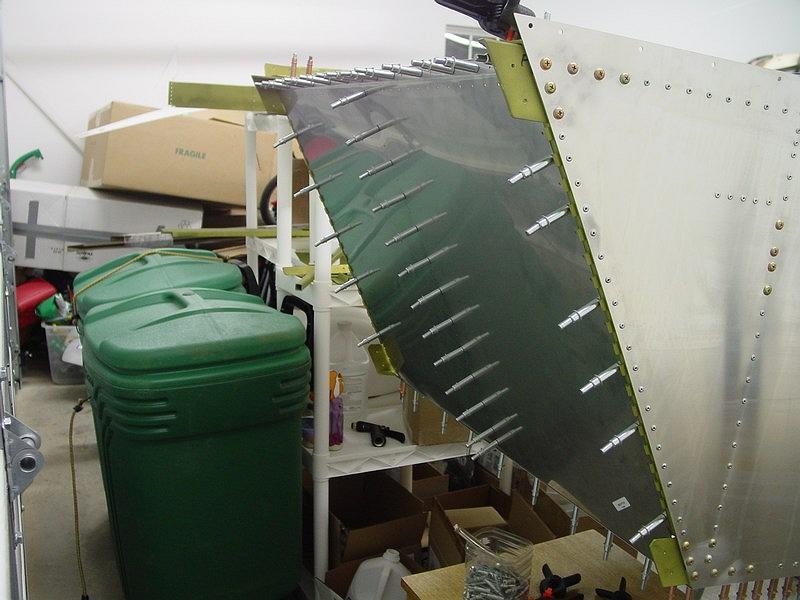
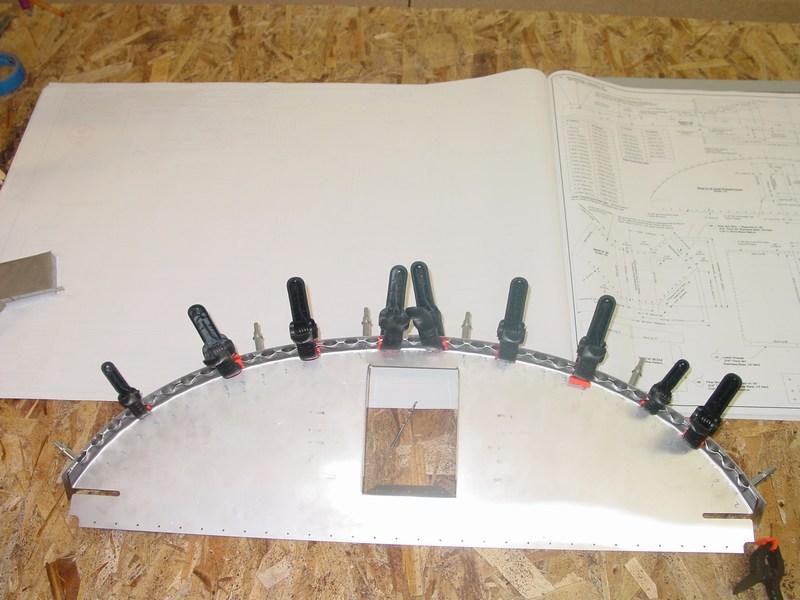
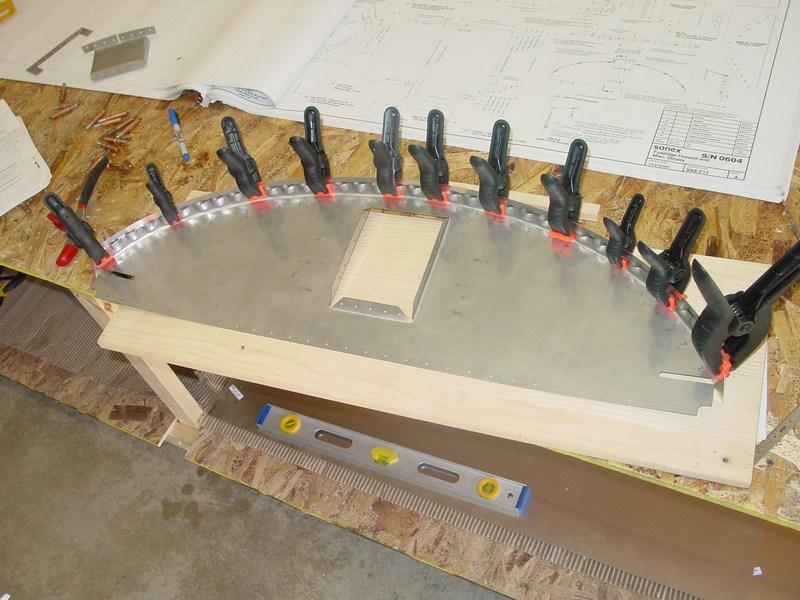
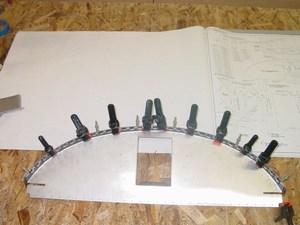
The upper firewall was then mated to the windshield strap.
|

|
This required lots of clamps to hold thing together
|

|
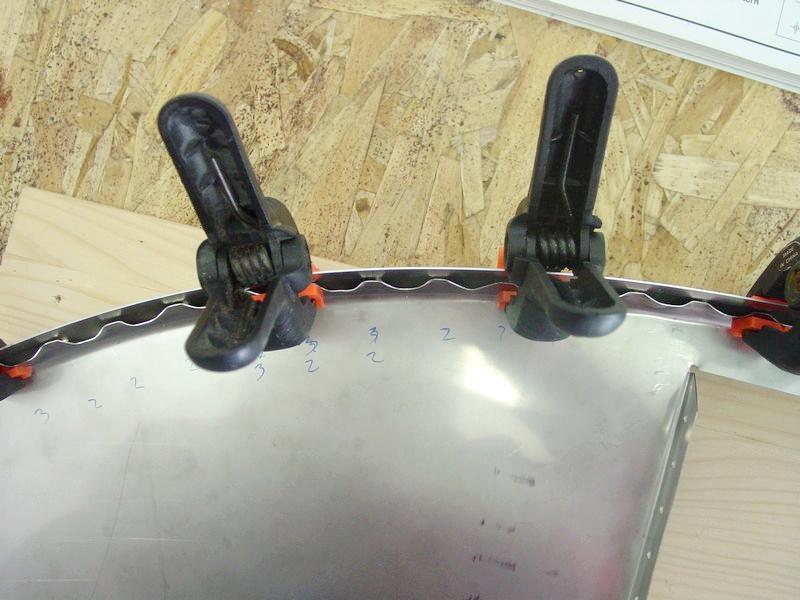
The firewall comes pre-formed in the kit, but the flutes don't really match up to the strap very well. The angles are a bit off (some more than a bit...). So, I marked each flute with a 1, 2, 3, or 4 depending on the severity of the misalignment. I then removed the strap, bent the flutes by hand, and rechecked. It took 3 or 4 iterations of this to get a nice match up.
|

|
The upper firewall was then riveted to the lower firewall. The strap will not get riveted until the cowl fasteners are put in place.
|

|
Lastly, the filler box was reassembled with sealant and riveted to the upper firewall. I used a gasoline safe sealant so that any fuel drips would not deteriorate the seal.
|

|
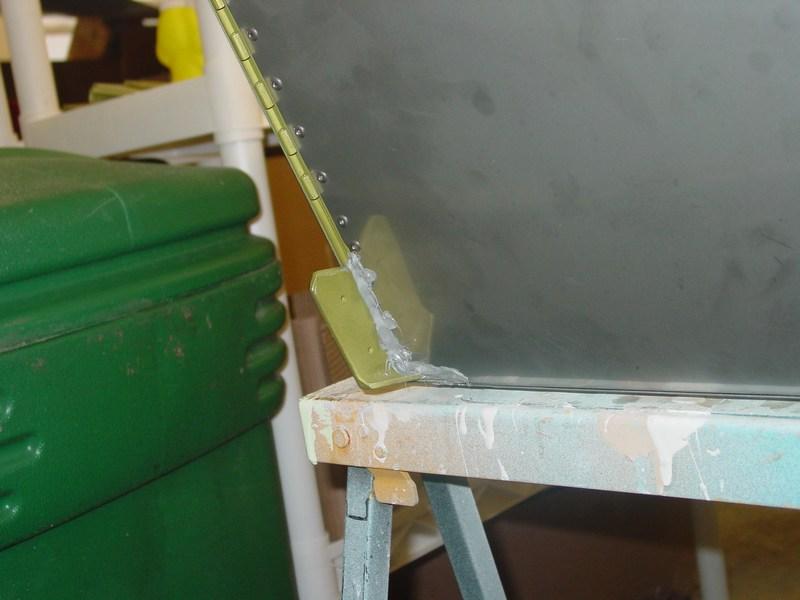
Then, silver silicon sealant was used to seal any openings around the firewall. Hopefully this will keep noise, wind, and fumes out of the cockpit.
|

|
|

|
The silicon is pretty sticky stuff, and I believe it will work well. The packaging says it is good for use to 400 degrees F, so unless there is a fire, it should hold up well.
|
|
After reviewing the plans, I just realized that the rivets were installed backwards in the filler box. The plans call for the heads to be on the inside of the box, not outside like I did. This may cause some interference with the tank neck. We'll wait and see...
|