
|
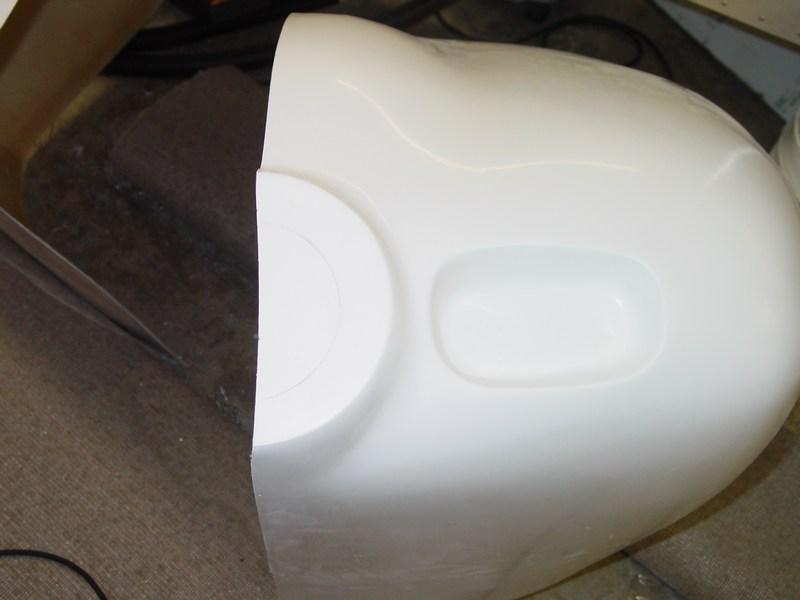
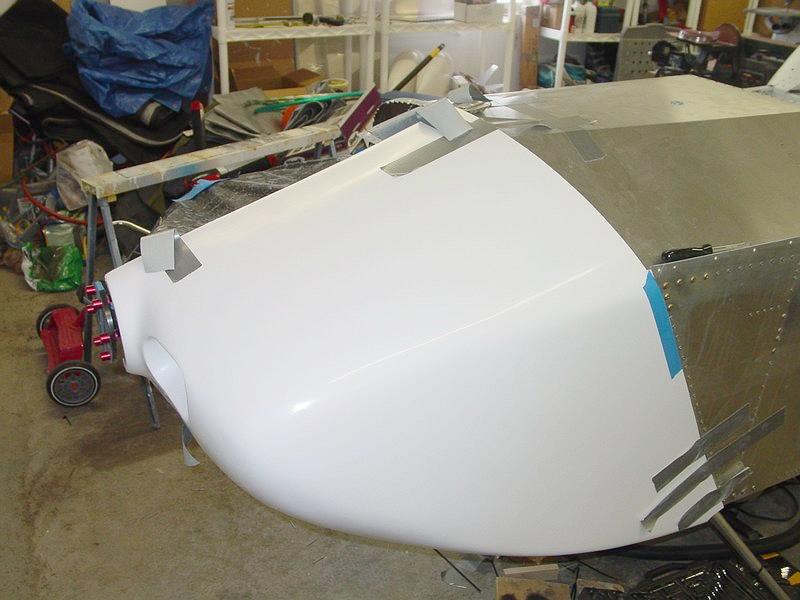
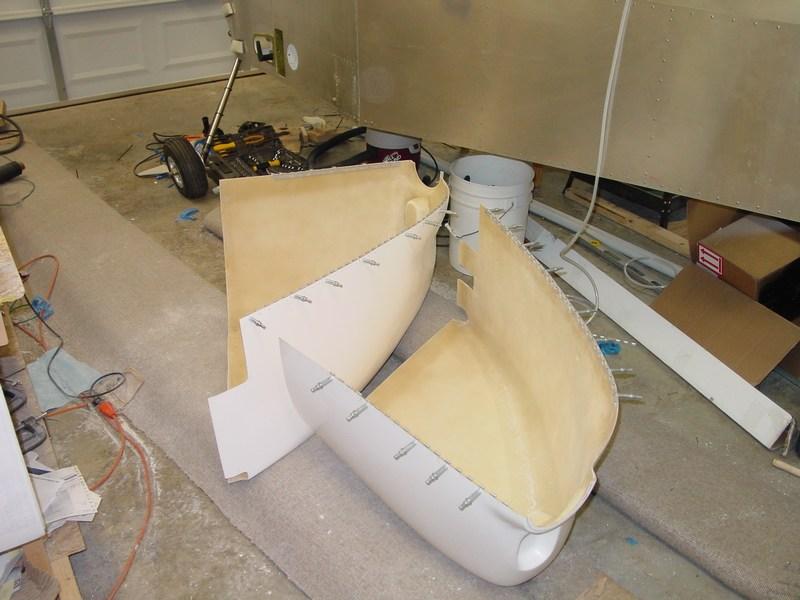
The kit includes a nicely made fiberglass cowling. It is finished in gloss white gellcoat. There were a few areas where the gellcoat was a bit thin, and a few chips (all on corners), but other than that, it was very nice. It is molded in left and right halves. Sonex now supplies a "Universal Cowling". This eliminates the need to add "warts" to clear the valve covers on the AeroVee engine. I think it looks better as well.
|
|
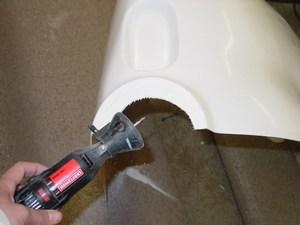
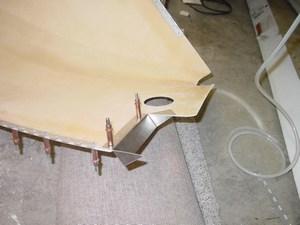
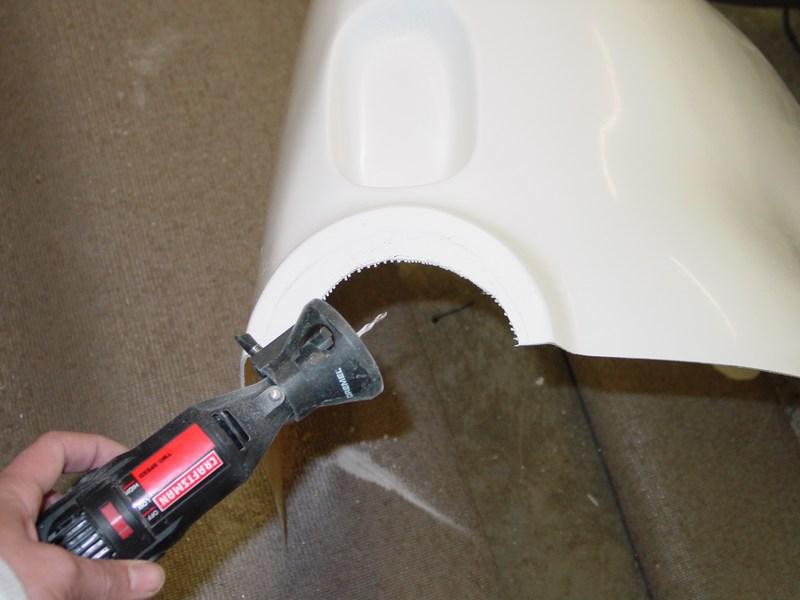
The first step in fitting the cowl is to make a cutout for the prop hub. This first cut is made undersized. It will be opened up later after the cowl is properly positioned. This will ensure a nice consistent gap around the hub. I used my Dremel tool with a tile cutting rotary bit.
|
|
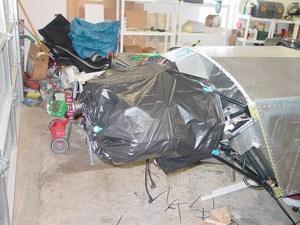
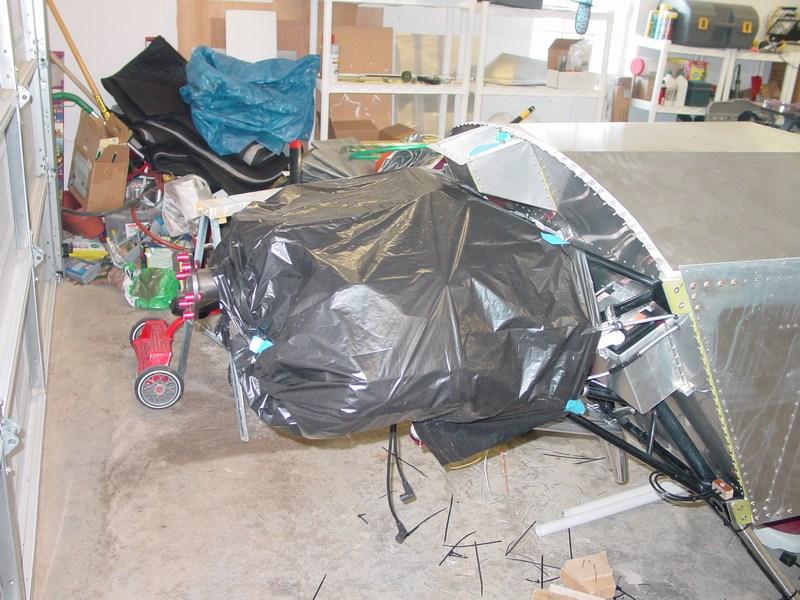
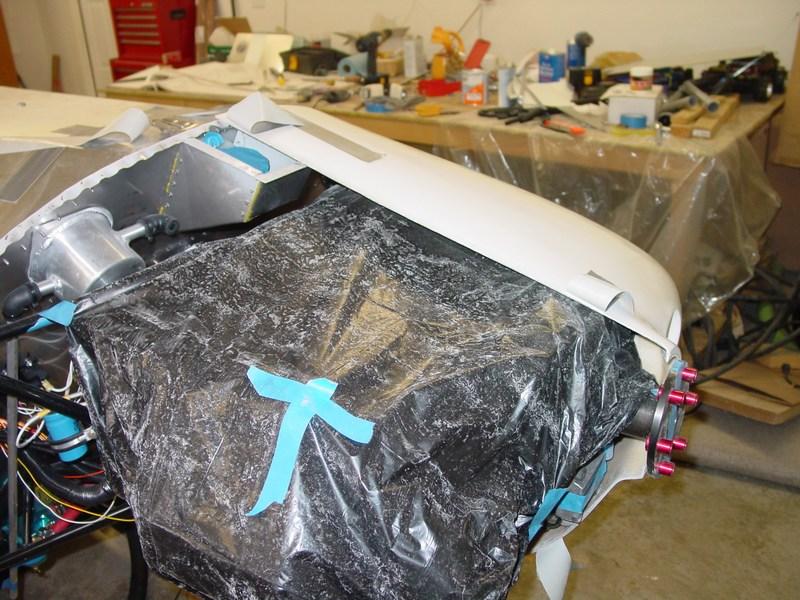
Prior to fitting the cowl, I bagged the engine to keep the copious amount of dust off the engine.
|
|
This turned out to be a good idea! The sanding dust gets on everything. And it itches :-(
|
|
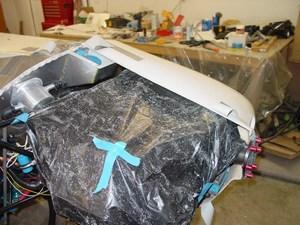
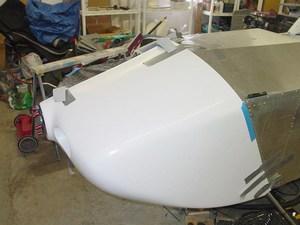
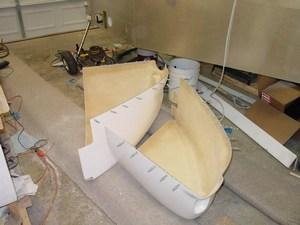
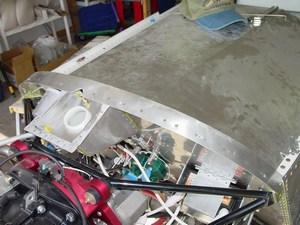
The cowl halves are aligned on the fuselage. They fit pretty well right off the bat. I needed to trim the overlap on the bottom sides (the left and right overlapped about an inch in the center), as well as the overlap on the upper firewall.
|
|
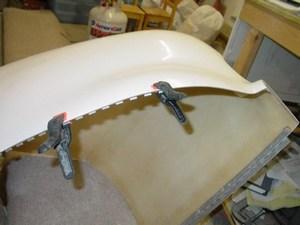
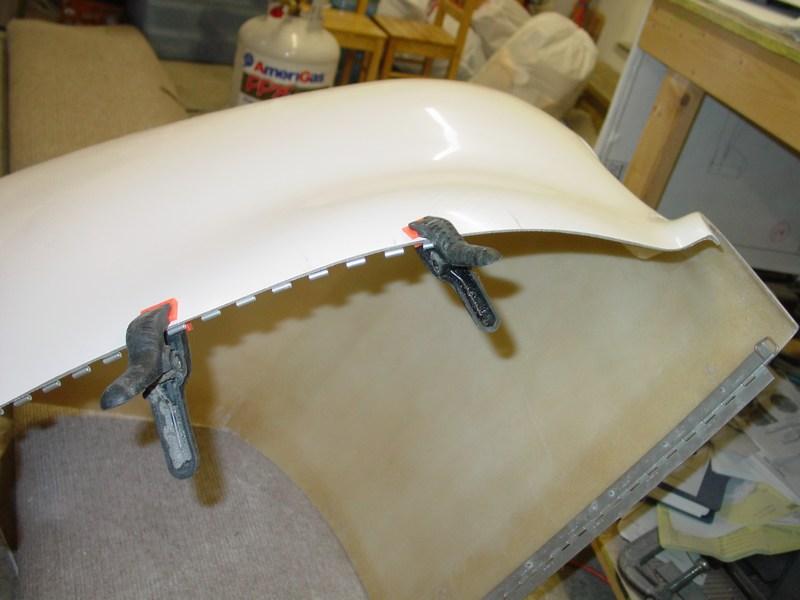
With the cowl halves fitting together nicely (about 4-6 hours work sanding, and a lot of on-off time to test the fit), I started attaching the hinges. The hinges go on pretty easy. I pre-drilled the hinges halves, then drilled and clecoed to the fiberglass.
|
|
Top and bottom hinges fitted.
|
|
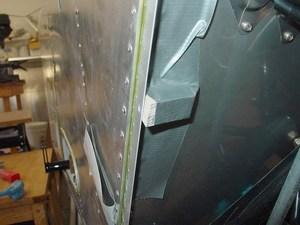
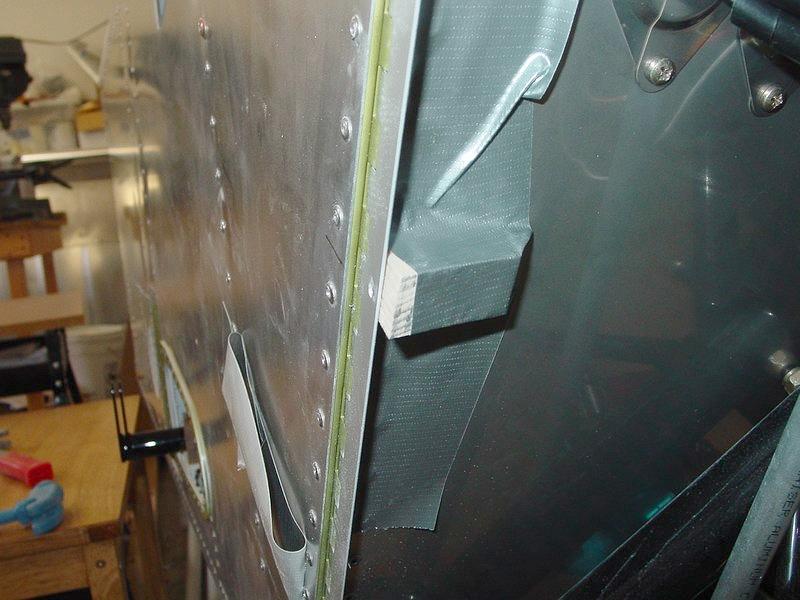
The side hinges are a bit more difficult to drill. I attached the hinge half to the fuselage hinge half, then taped a block of wood to hold the hinge straight. I then put the cowl back on, aligned everything, and drilled through the cowl and into the hinge. I initially only drilled top, middle, and bottom holes. This is enough to hold the hinge in alignment.
|
|
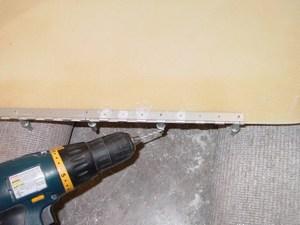
The cowl was then removed and the rest of the holes were drilled. This method worked very well, and kept the cowl in perfect alignment. Once the side hinges are drilled, the position is locked in, so you want to get it right.
|
|
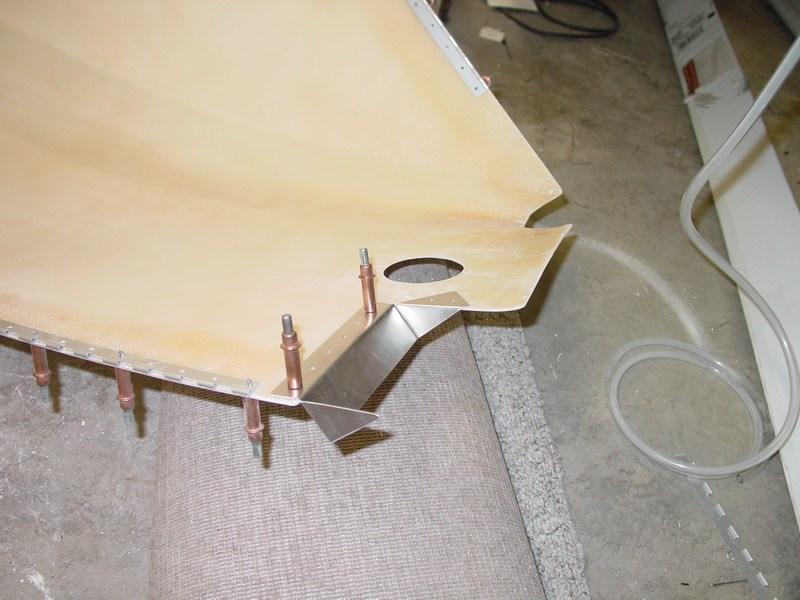
The 2-into-1 exhaust pipes exit from the rear center of the cowling. This is a change over the old "straight pipes", which required cutting out a large section to make the exhaust tunnel. The plans specify that 47-50 sq inches of exit area are required, as well as deflectors to create the low pressure needed to properly draw air out of the cowl.
|
|
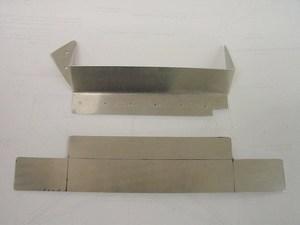
The "lips" are bent from 0.025" aluminum and riveted to the cowl. Each cowl half gets it's own deflector. The circular cutout next to the lip is for the quick drain valve on the gascolator.
|
|
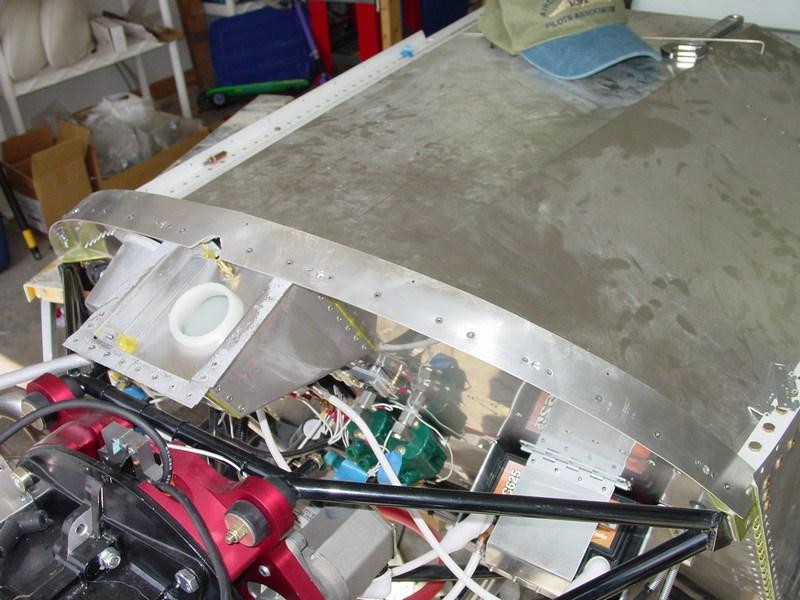
I probably shouldn't have waited so long to rivet on the upper firewall strap, but for some reason I was reluctant to do so. Since you can't fit the cowl with clecos holding the strap in place, I just left it off. In reality, riveting the strap was no issue at all, and the Southco fasteners went in with no problem at all. Better to just go ahead and rivet before fitting the cowling.
|

|
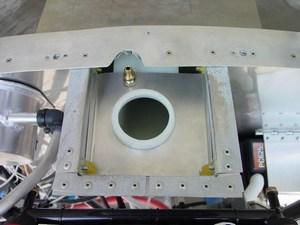
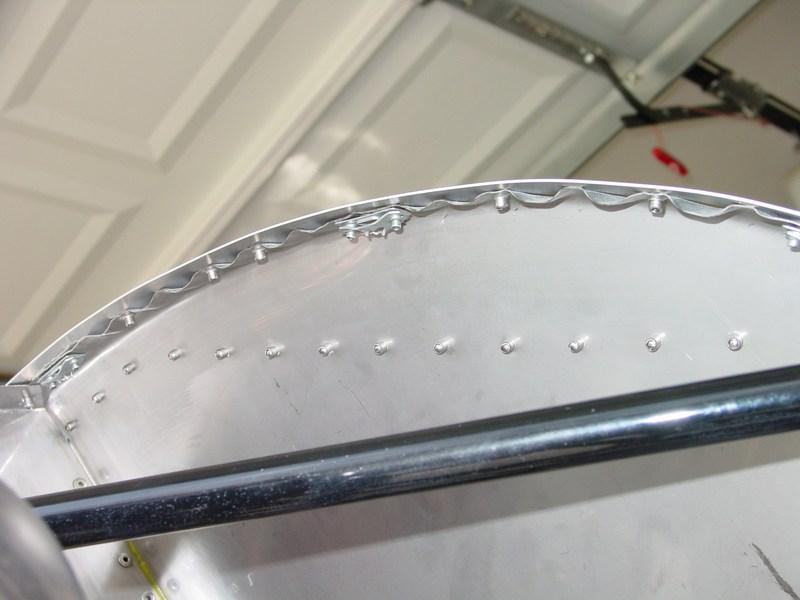
The Southco fasteners were then riveted on the strap. I first flattened a few flutes in the stainless upper firewall so they wouldn't interfere with the fasteners receptaclecs. This is actually really easy to do in the half-hard stainless, and caused very little distortion to the upper firewall (unnoticeable under the strap).
|
|
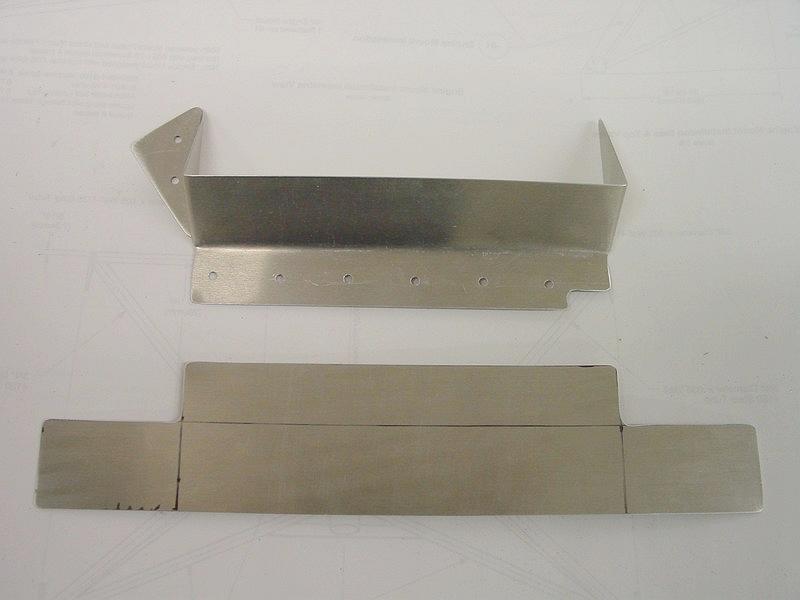
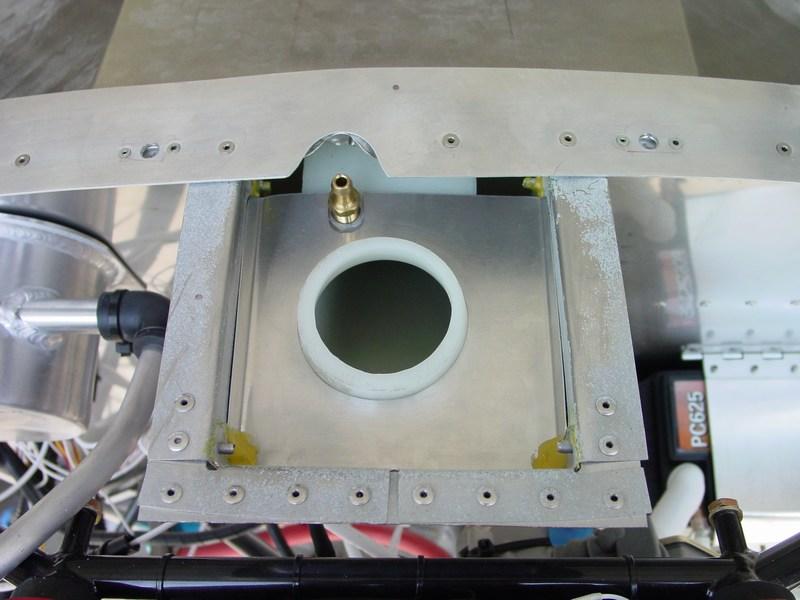
I wanted to make a drip pan to catch any errant fuel spilled during refueling. Without a drip pan, the fuel will simply run right down into the cockpit, and spell up the inside with fumes. I simply took some measurements, made up a template, and bent up a pan from 0.025" aluminum and attached it with some yellow fuel-proof gasket sealant. The pan won't stop everything, but will help out a bunch. Any fuel caught can then be sopped out with a paper towel.
|

|
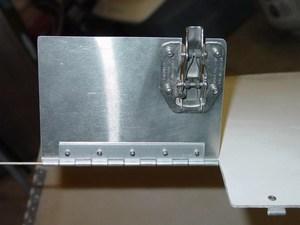
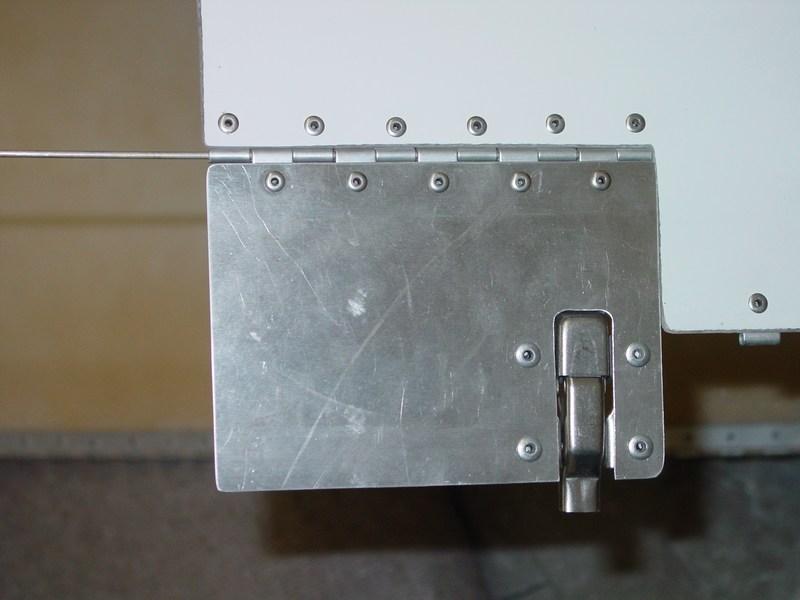
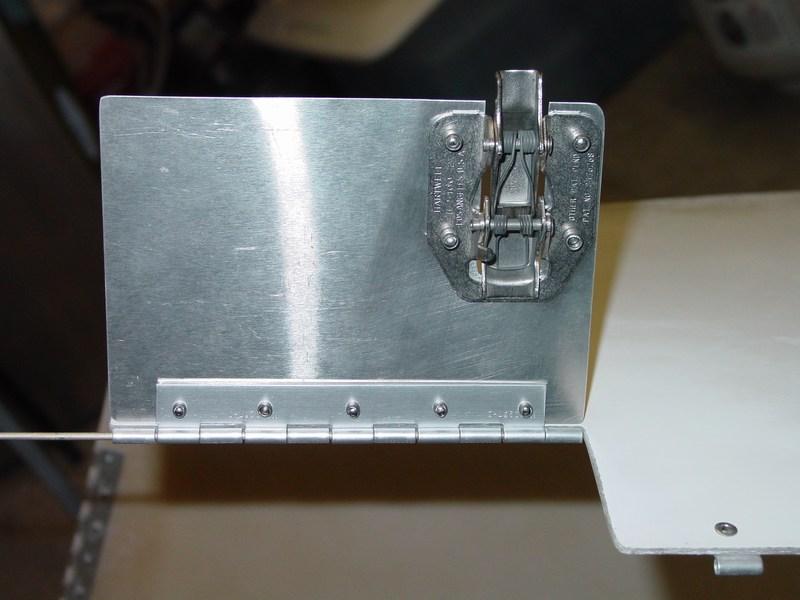
The fuel door is made from 0.025" aluminum and attached with piano hinge. I used a Hartwell latch (Spruce PN 05-01113) to secure it.
|
|
Underside of the fuel door.
|
|
Fuel door closed up. It works pretty well, and the latch hold very securely.
|

|
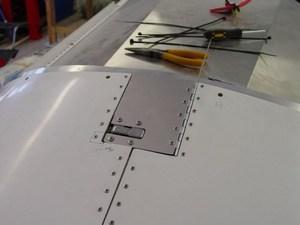
This picture shows the ledge that the fuel door rests on. Because of the difference in thickness between the fuel door and cowling, I had to flush rivet a 0.063" spacer onto the ledge to level thing out. Now it look great.
|

|
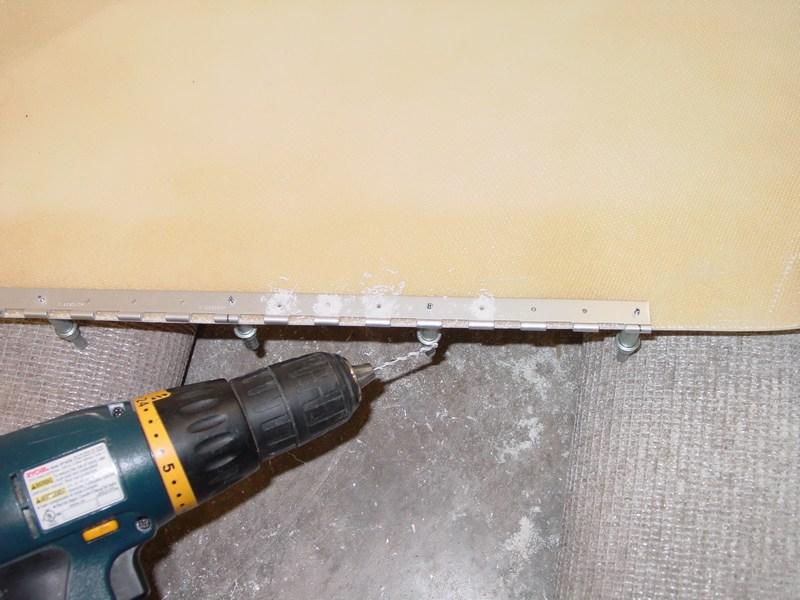
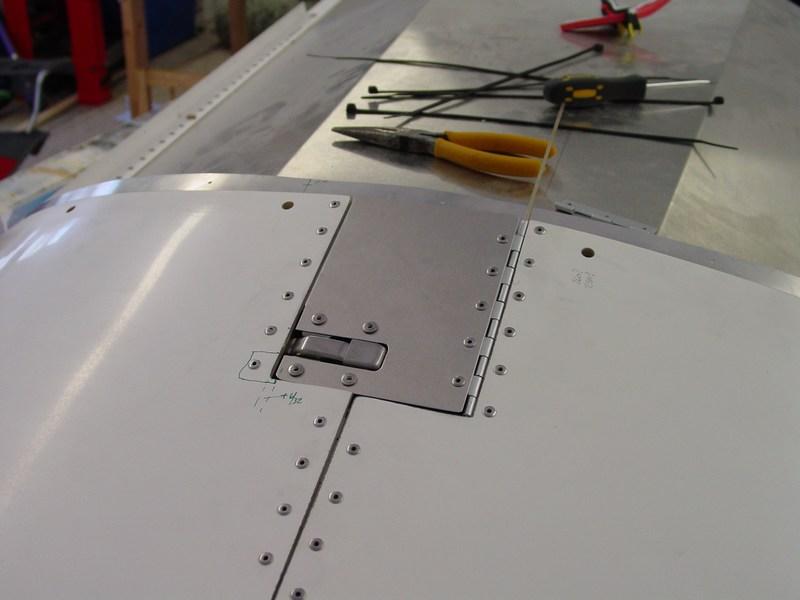
Now that the Southco receptacles were already in place, the holes in the cowl had to be drilled accurately to match. I thought about all kinds of ways to mark the underside of the cowl in the right place, but in the end, I simply measure everything carefully, and drilled.
|

|
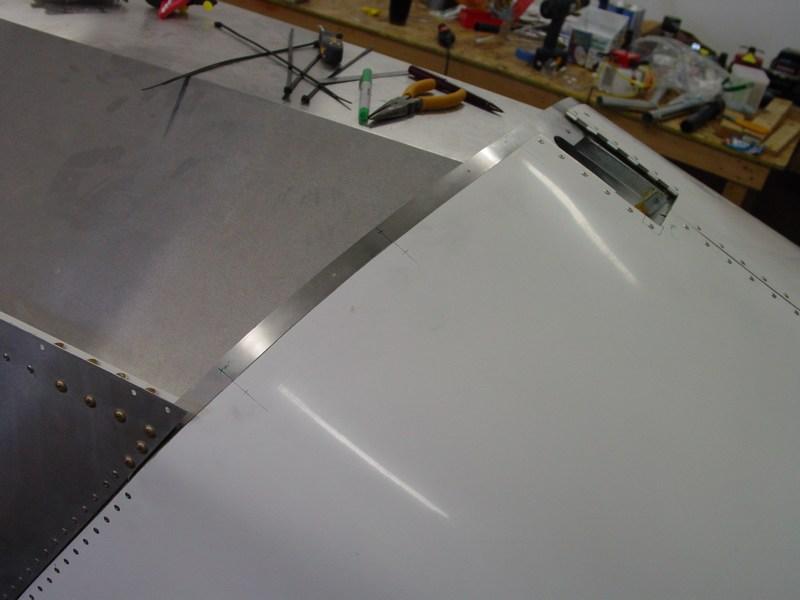
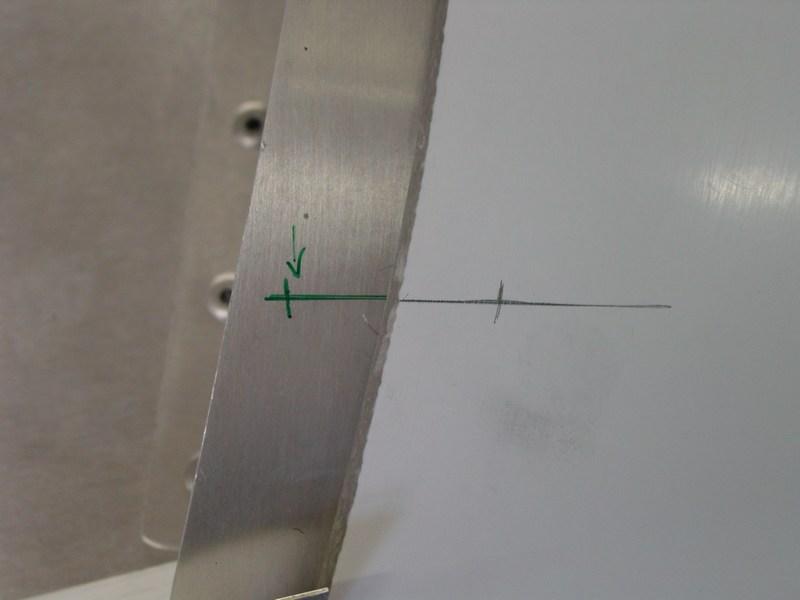
I first marked a centerline right through the center of the hole, extending it out the edge of the strap. Then, I measured 1" from the hole's center, and marked it with a tic mark. With the cowling back in place, I simply extended the center line back over the cowl, again measured 1", and marked it. When I drilled, the holes match perfectly. I spent twice as long trying to devise a trickier way to do this, an this worked even great!
|
