|
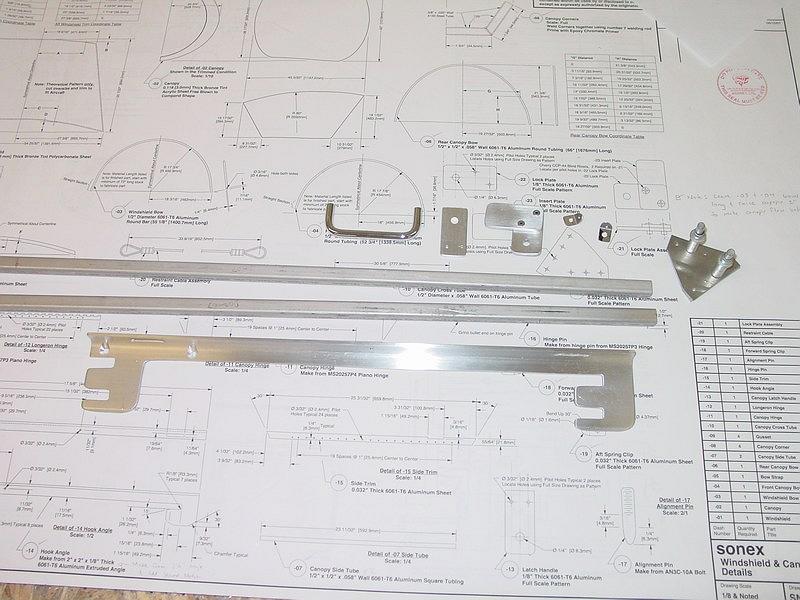
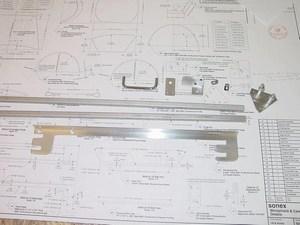
The canopy frame parts are completed first. I used 2.5" angle to make the latch, and added the second notch to hold the canopy open for taxi ventilation.
|
|
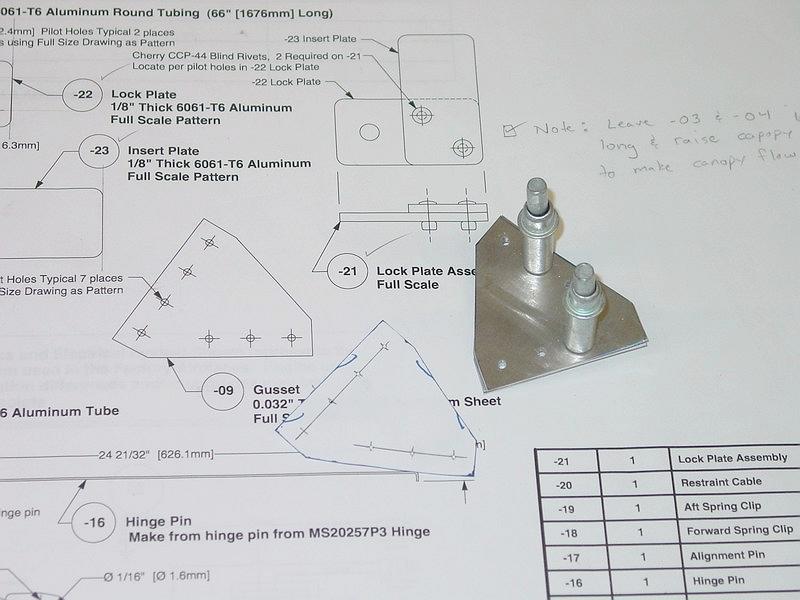
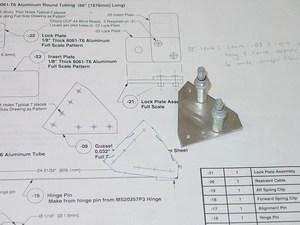
Canopy frame gussets.
|
|
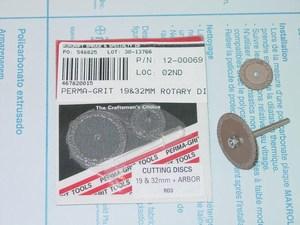
I've been told the tool of choice for cutting the canopy is a Perma-Grit cutoff wheel. I got this one from Aircraft Spruce (PN 12-00069). The gritty coating on the disk really chews through the acrylic, and it runs very cool while cutting.
|
|
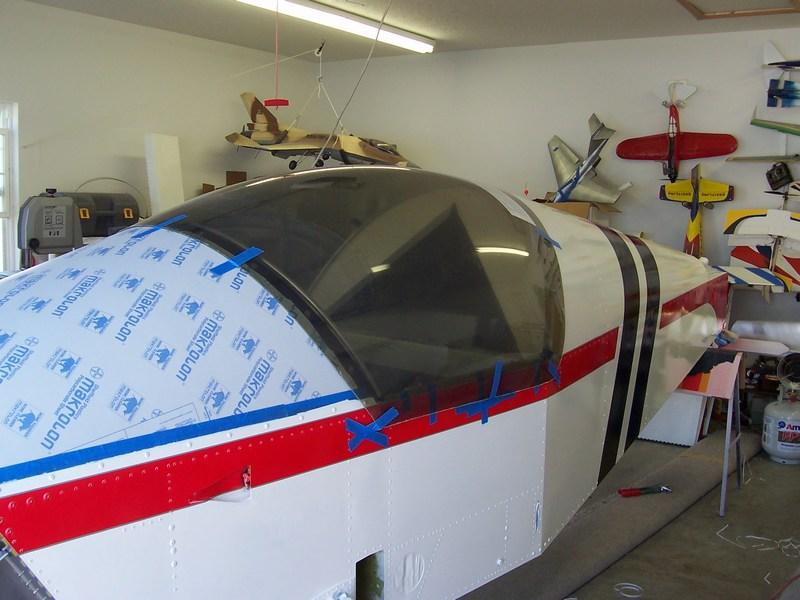
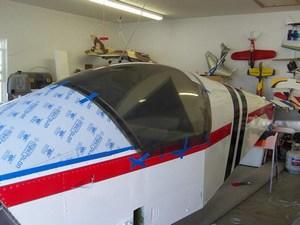
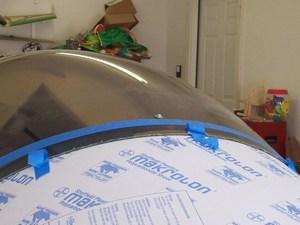
Initial fitting of the canopy. The bubble comes oversized from the factory and must be trimmed to fit.
|
|
Before any other trimming is done, longer 6-32 srews are placed through the canopy at the center of the front and rear bows. This will ensure the canopy comes back down on the frame at exactly the same spot each time.
|
|
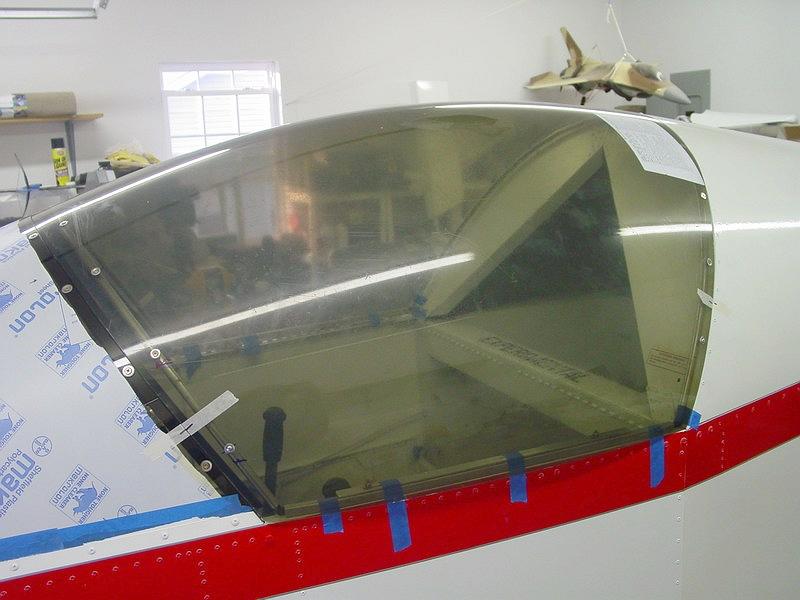
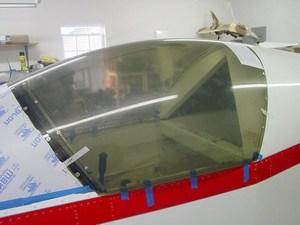
The first cut was a bit oversized, so little by little the canopy was trimmed to fit. Trimming was done with the permagrit disk, and then block sanded with 80 , 150, and finally 220 grit sand paper.
|
|
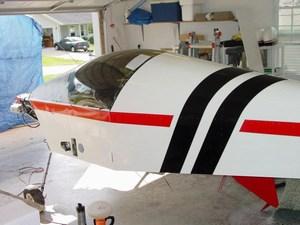
After numerous on-and-off-trimming sessions, the canopy is finally bolted to the frame and riveted. I'm sure glad to be finished with this part! Work slow, don't move the canopy while cutting it (at all!!!), and sand the edges smooth RIGHT AWAY and you'll be fine.
|